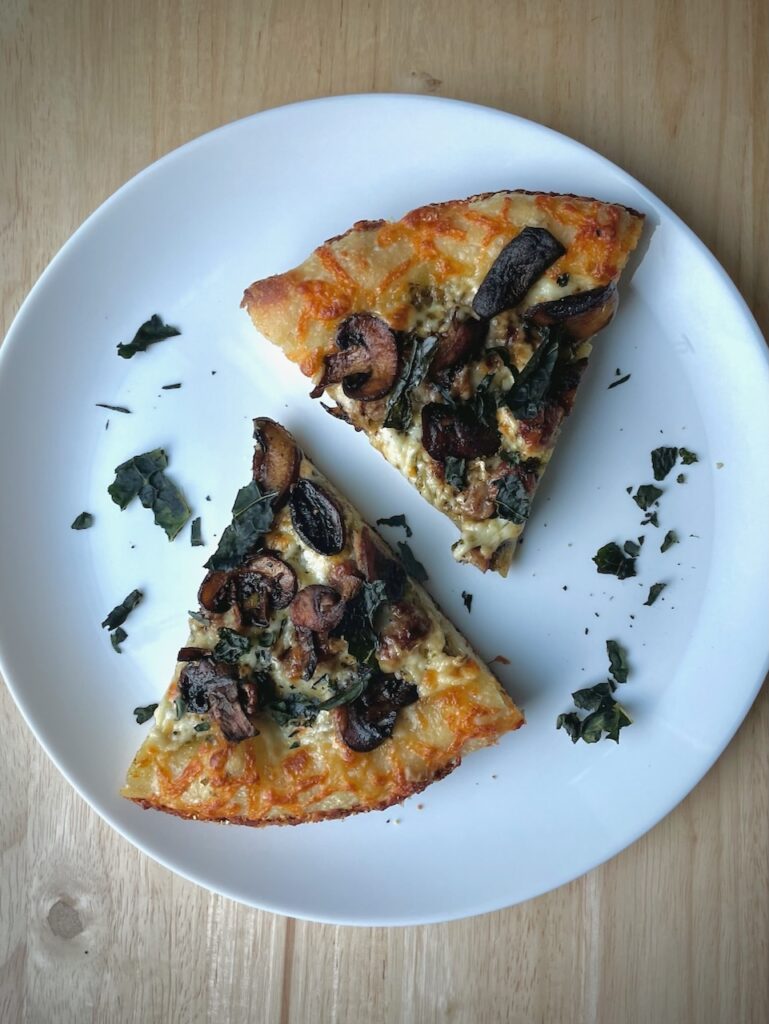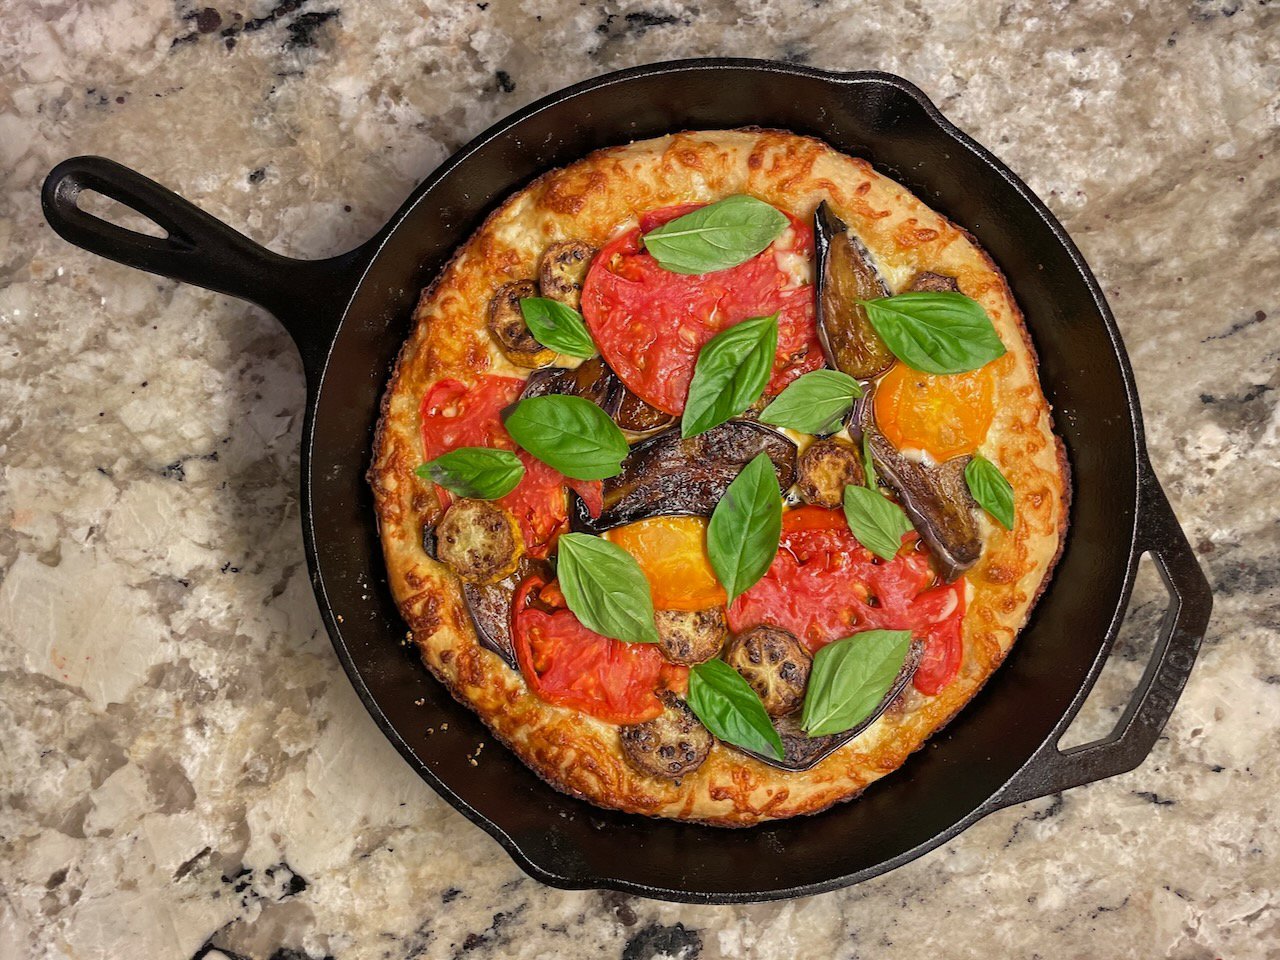
A delicious sourdough skillet pizza, for any day of the week.
Pizza was my “gateway drug” into bread making, and it remains one of my favorite things to bake. The only hitch was when I met my husband and discovered he much prefers a pizzeria pie to a homemade one. Did that stop me? Of course not. In fact, I’ve spent years trying to make a pizza that he would actually love, and not just politely eat and give constructive feedback on.
What I’ve learned from years of trial and error is that making an American-style pizzeria pizza at home is difficult. It requires a delicate balance of crisp exterior, fluffy interior, and sturdy thickness to hold all kinds of toppings.
But, after nearly a decade, I’ve finally cracked it. My sourdough pan pizza has been such a hit that my husband actually requests it now.
It’s been such a favorite, in fact, that I’ve adapted that formula into an equally delicious no-knead version. This gives me the ability to make it on a weeknight. I simply mix the ingredients the night before, fridge the dough in the morning, shape it when I get home, and bake it for dinner.
Baking it in a cast iron skillet produces a truly spectacular crust: crisp yet fluffy, sturdy yet flavorful, and with just the right amount of thickness and chew. This also eliminates the need for a pizza stone, or special pizza oven. I simply start it on the stovetop to crisp the bottom, bake it on the middle rack to set the interior, and then finish it on the top rack for golden-brown perfection.
The result is an at-home pizza that rivals any pizzeria. And because of the slow sourdough leaven, I would say it’s even more flavorful than most. Once you load it with your favorite toppings, it’s sure to please even the pickiest pizza aficionados.
The no-knead method of making a sourdough skillet pizza.
The no-knead method allows you to create bakery-level pizza and bread at home, without any labor-intensive kneading. By just mixing the ingredients and letting them sit, the gluten will develop naturally over time. This also allows plenty of time for sourdough flavor to evolve. The no-knead method used in this recipe is based on the one developed by Jim Lahey of the Sullivan Street Bakery in New York (for more no-knead recipes, check out his books here).
Although this method does take longer, there is little hands-on activity and it is easily fit into a busy schedule. If you are new to sourdough—or bread making in general—no-knead bread is a great place to start. And don’t get discouraged if your pizza is not perfect at first. This is a skill that, like any, requires practice. Once you get the hang of it you’ll be enjoying pizzeria-style pie without having to leave the house.
For more no-knead sourdough recipes, check out my 50% Whole Wheat No-Knead Sourdough and No-Knead Sourdough Dark Rye.

No-Knead Sourdough Skillet Pizza
Ingredients
- 213 grams (1½ cups) bread flour
- 3 grams (½ tsp) salt
- 120 grams (½ cup) water
- 15 grams (1 tbsp) sourdough starter active/fed
- 12 grams (1 tbsp) olive oil plus more for pan
- 21 grams (1 tbsp) honey
- Cornmeal for pan
- ¼-½ cup sauce for topping
- 1 cup grated mozzarella cheese for topping
- Meat and vegetable toppings as desired
Instructions
- Combine bread flour and salt in a large bowl. Set aside.
- In a medium bowl combine water, starter, olive oil, and honey. Whisk until evenly incorporated.
- Add wet ingredient mixture to dry ingredients mixture. Mix just until a shaggy dough forms. Cover loosely with a towel or plastic wrap and let sit for 20-30 minutes.
- Stretch and fold the sides of the dough into the middle until the dough becomes a smooth ball. Avoid overworking the dough, stop once all the remaining dry bits are incorporated.
- Transfer dough to a clear bowl or container. Mark the position of the top of the dough with a washable marker or rubber band. Cover loosely with plastic wrap or a towel and proof until doubled in volume, about 8-12 hours.
- Once dough has doubled punch it down and, again, stretch and fold the sides of the dough into the center to form a ball. At this point you may immediately move on to the next step of shaping the dough, or cover the dough and refrigerate 8-24 hours (or more). Refrigerating the dough (known as cold fermentation) will increase the flavor of your pizza crust.
- Grease a 12-inch cast iron skillet with about 2 tbsp olive oil and sprinkle with about 1-2 tbsp cornmeal. Place dough ball in the center of skillet. Using both hands, push your finger tips into the dough, working from the middle out to stretch the dough to the sides of the pan. If dough starts to resist further stretching, stop and allow the dough to rest for 5 minutes (you may have to do this 3-4 times before it reaches the edge of the skillet). Cover and allow to proof until puffy and roughly doubled in volume, about 2-4 hours.
- Preheat oven to 475° with a shelf in the center and one at the top. Top pizza with sauce, leaving about 1-inch around the edge uncovered. Sprinkle mozzarella cheese over the entire pizza (including the un-sauced crust). Add additional toppings as desired.
- Place skillet on a burner over medium heat. Once the oil around the sides of the dough is bubbling, about 3-4 minutes, remove pan from heat.
- Transfer skillet to the middle rack of the oven. Bake for 7 minutes, then move to the top rack and bake for 3-5 minutes more, or until the top of pizza is golden-brown. Carefully lift the pizza with a spatula to check that the bottom is golden-brown, if not return to the middle rack until it is.
- Remove pizza from skillet with a spatula. Allow to cool for about 5 minutes then cut and serve.


Outstanding. I scaled up to 400g flour and used two 10” cast iron pans. My husband said this is now our go-to recipe